DW/JW CodeShip Workshop
Mixing SaaS CI/CD with Jenkins
Pre-reqs
- Account at GitHub.com
- Account at CodeShip.com
- Account at Heroku.com
-
CodeShip's
jetcli gitinstalled locally
What is CodeShip?

CodeShip is...
Simple, fast, turnkey hosted CI/CD service
- Setup in minutes - with no infrastructure, expertise, or operations needed
- High performing - no queues or wait time
- Flexible workflows - start with a simple UI or move to advanced config-as-code
CodeShip isn't for...
- Complex applications and workflows with manual reviews and handoffs
- Internally-managed CI/CD platform and process
- On-premise builds on existing infrastructure
- Windows or mobile applications
But that's what CloudBees Core is for!
Here is a question:
Why would an enterprise company want a simple, #NoOps SaaS tool that a lot of our projects can't use?
Answer:
Not every team and project has the same needs, even inside of the same organization.
Let's review some use cases.
New projects need to get started right away
- Brand new projects, no production or security needs yet
- Developers still want to automate testing and deployments
Great for innovation teams - now they can setup and run their own CI/CD within minutes.
Some projects don't need expensive resources
- Docs, web front ends, blogs, marketing apps
- Still testing and continously releasing code
- Avoid over-engineering when there is no high-level security oversight needs
Empower the teams to run their own CI/CD with CodeShip so that they can be as productive as possible with the lowest footprint and lowest resource needs.
Until now there were three bad options
Option 1
Teams and developers forced to resort to Shadow IT/unmanaged tool sprawl
Option 2
Teams and developers hindered by organization bottlenecks, innovation slowed
Option 3
Valuable time and resources spent over-*(engineering, governing, managing) CI/CD for the many teams.
Now let's have some fun and get our hands dirty.
The scenario
We work at an old-fashioned office supplier wanting to enter the 21st century.
Introducing...
The future of pen buying technology is here!
But more seriously...
What is our tech stack?
Technology
Let's get started
Fork this repo on github:
cloudbees-days/pens-as-a-service
Shortened: https://bit.ly/2yXAAuU
Let's create two Heroku apps for our staging and production environments.
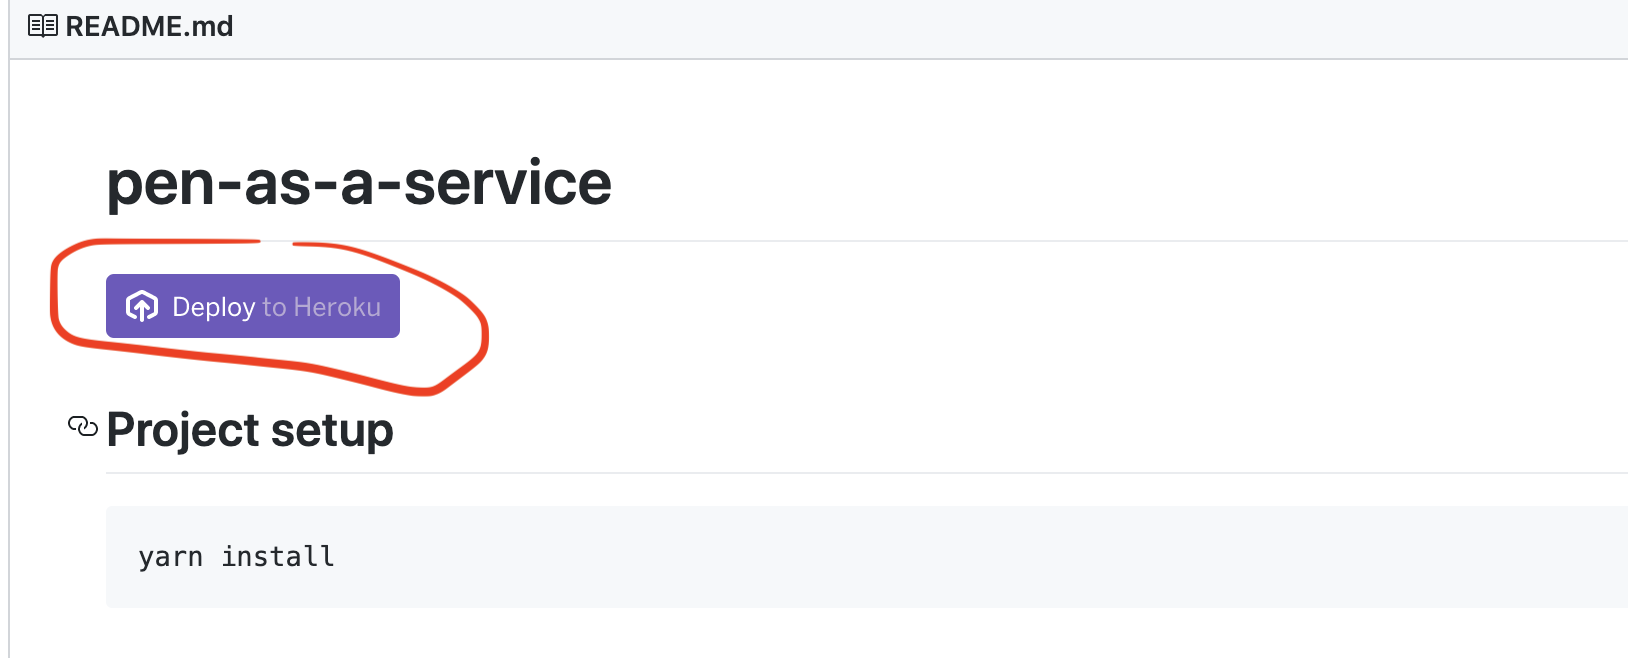
Name the app whatever you like
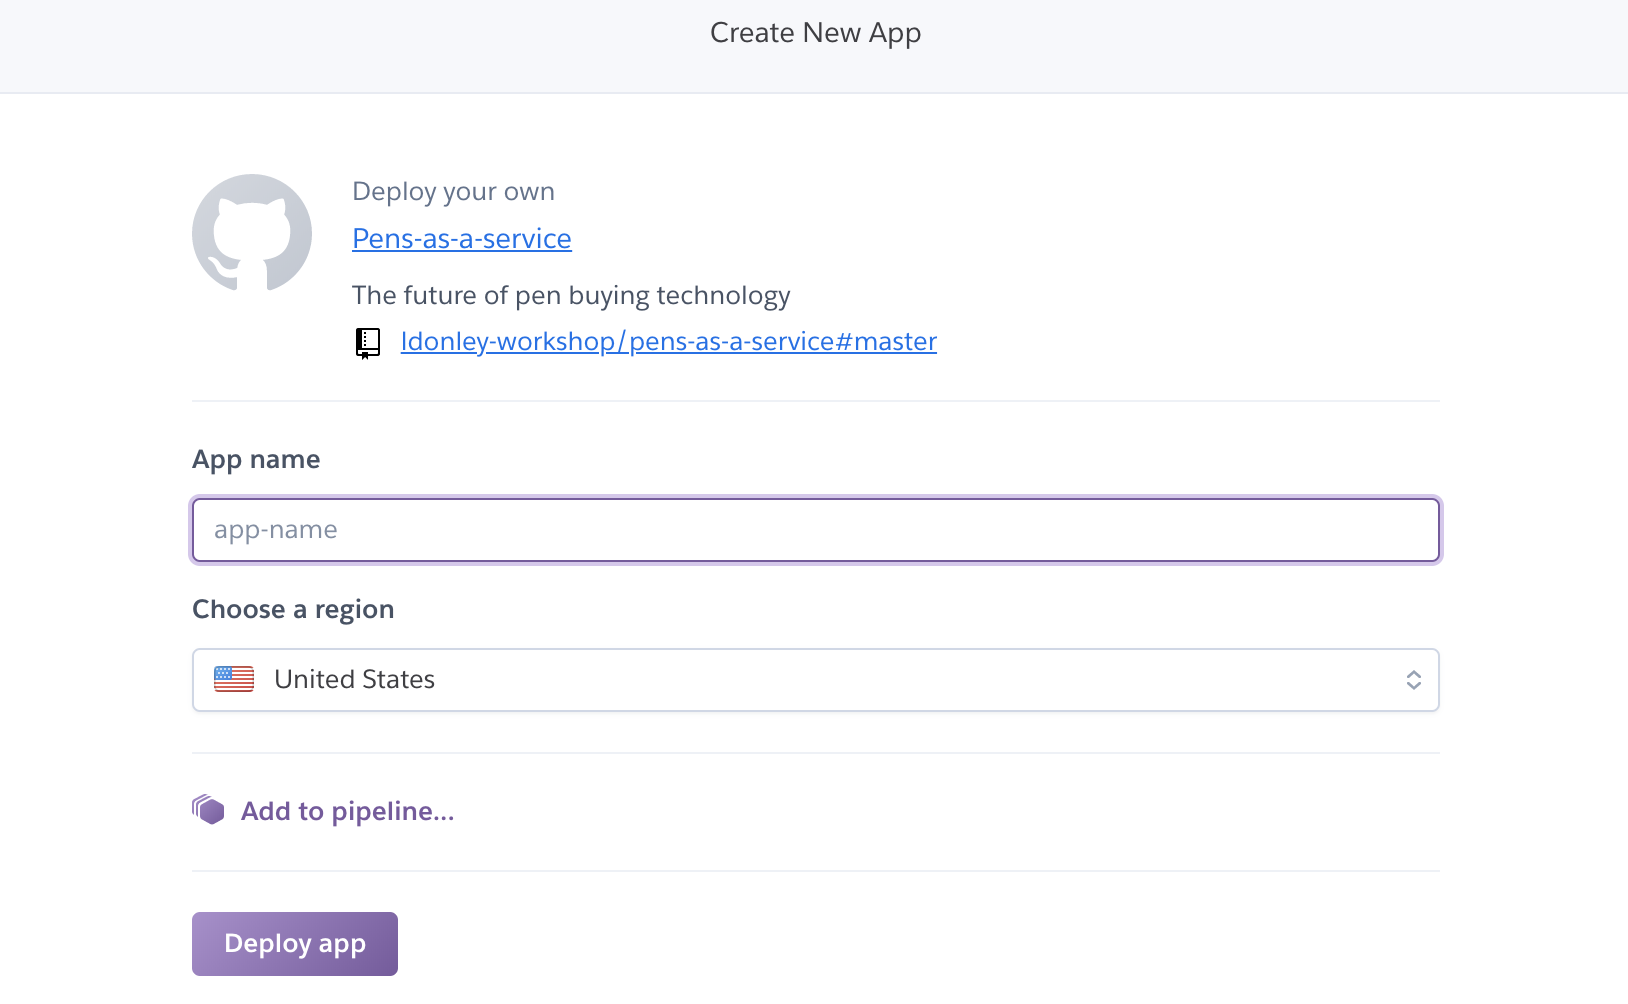
Create a second one with -staging appended to the
name
Create your project in CodeShip
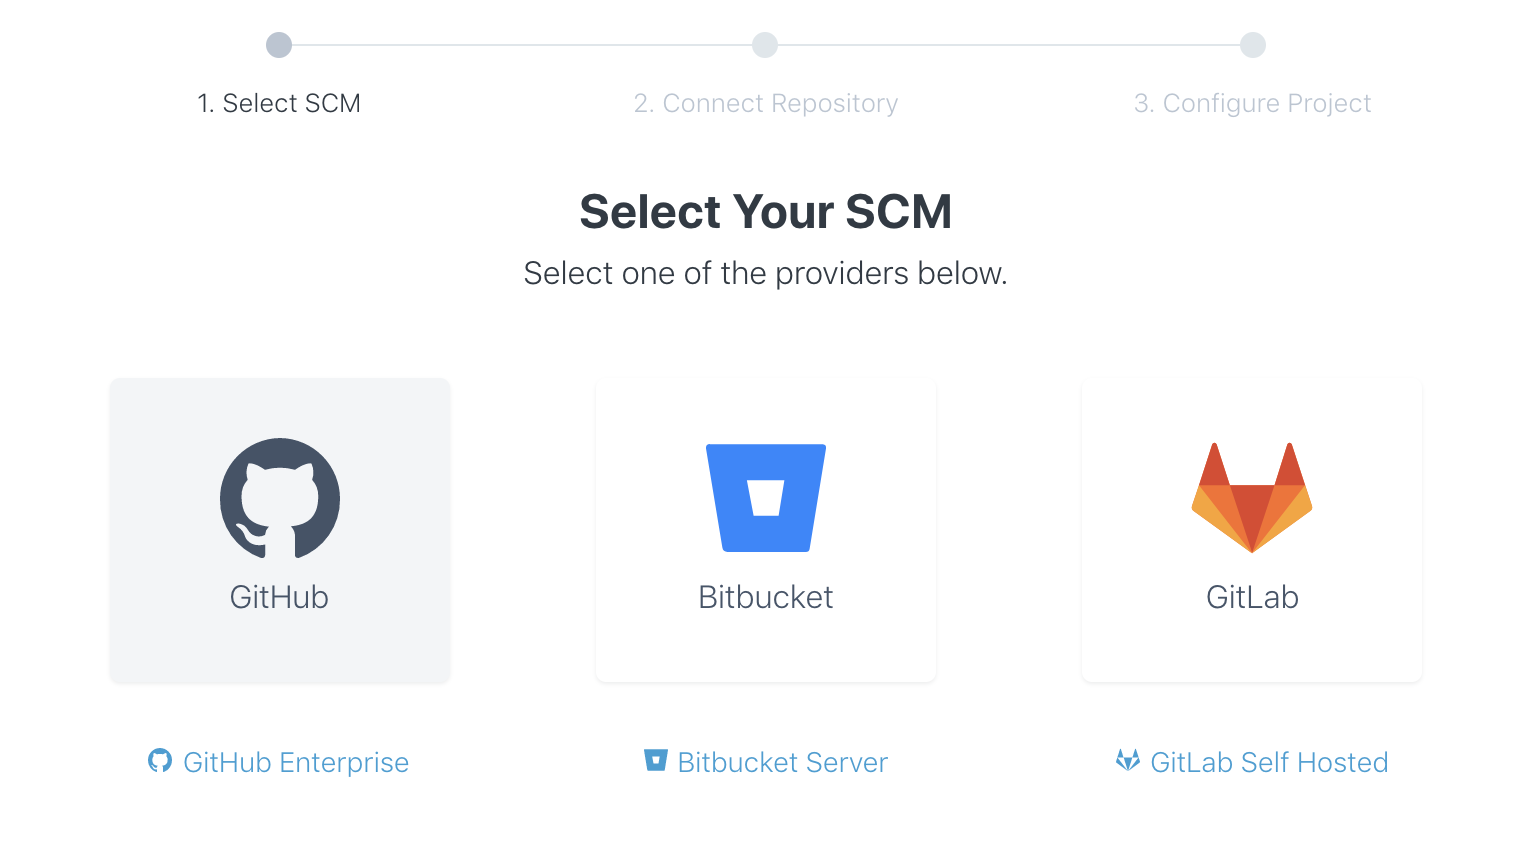
Choose the repo you forked
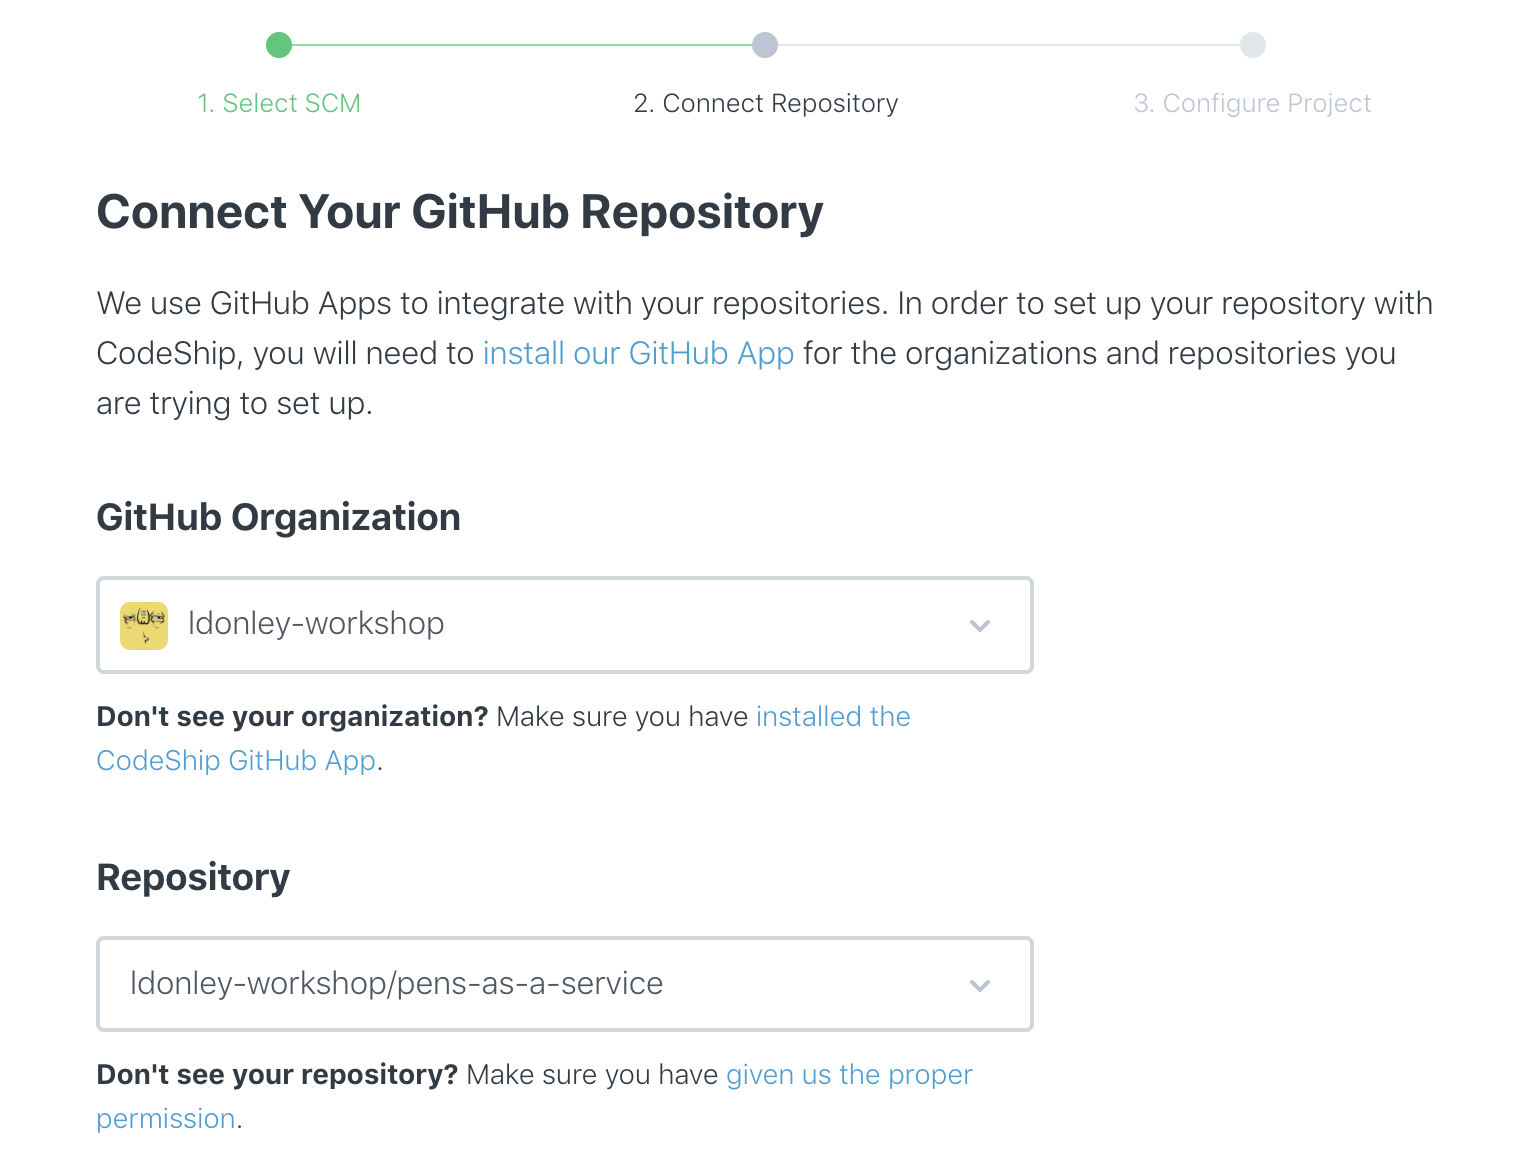
Start with basic
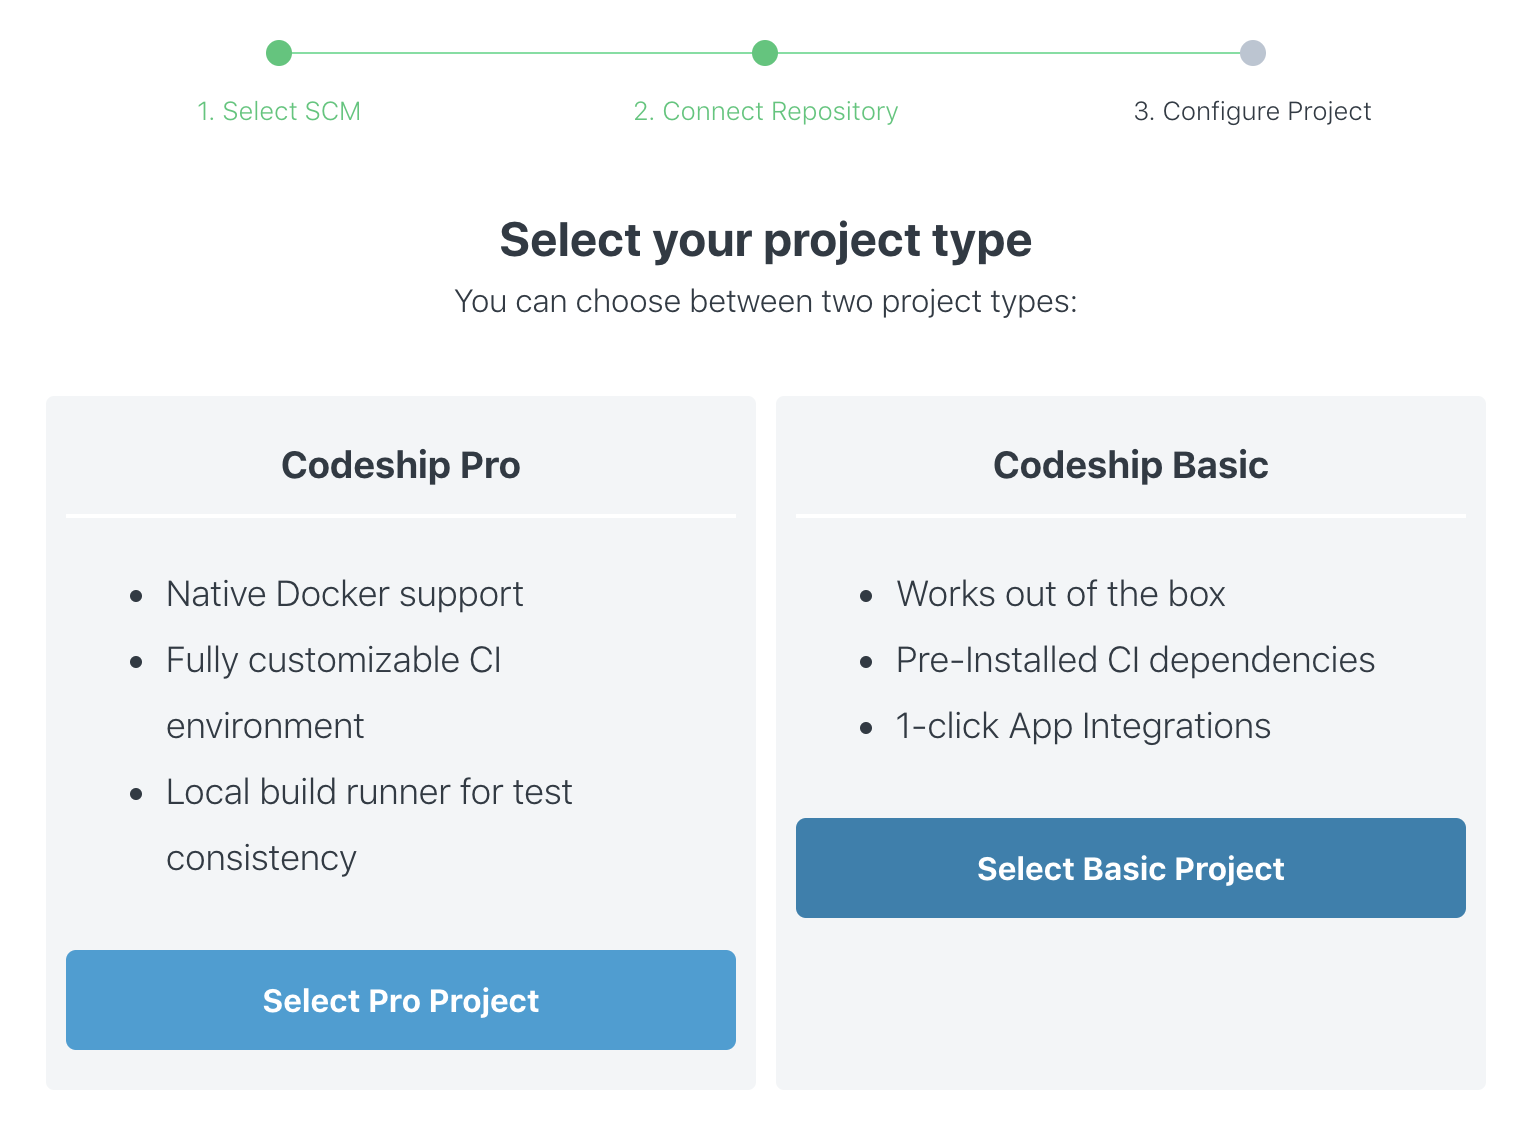
What is the difference between basic and pro?
Basic
- Web UI-based configuration
- Built in LXC
- Easy integration with several deployment options
Pro
- Config-as-code
- Docker-based - using a syntax similar to docker-compose
- Can deploy almost anywhere
You can easily switch between the two.
Select the Vue.JS option
Swap the npm and yarn install lines.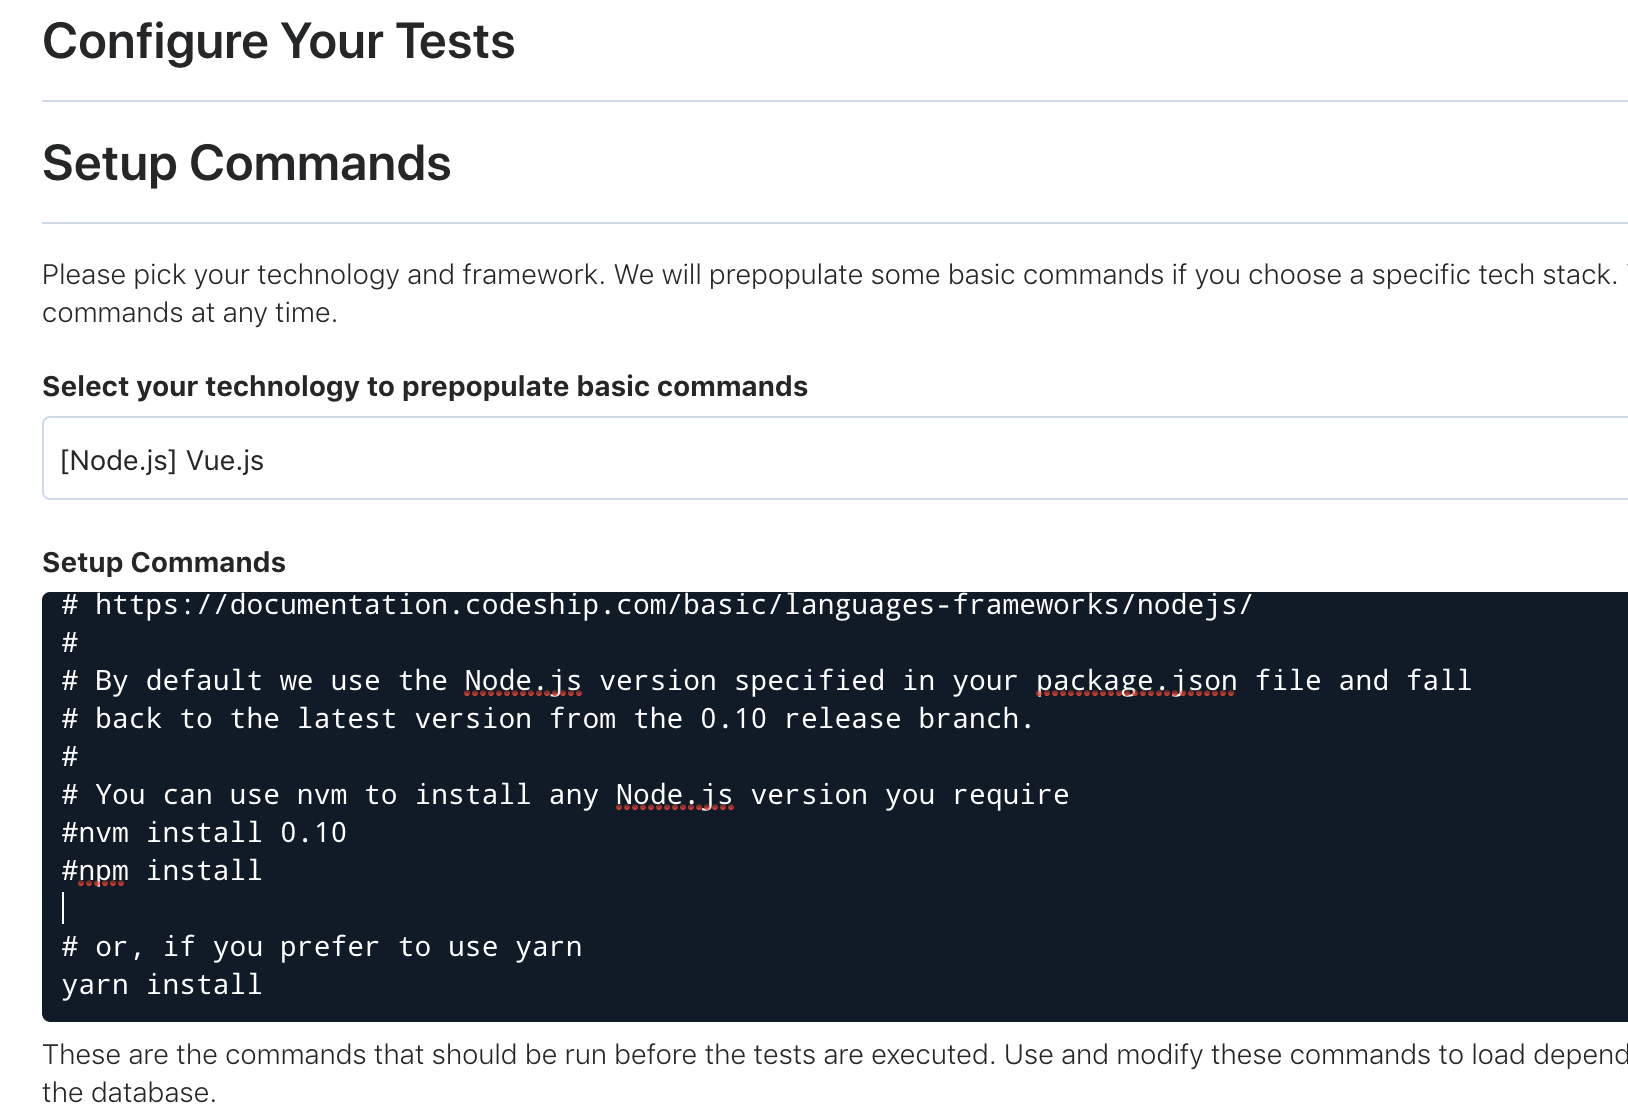
Add a test pipeline
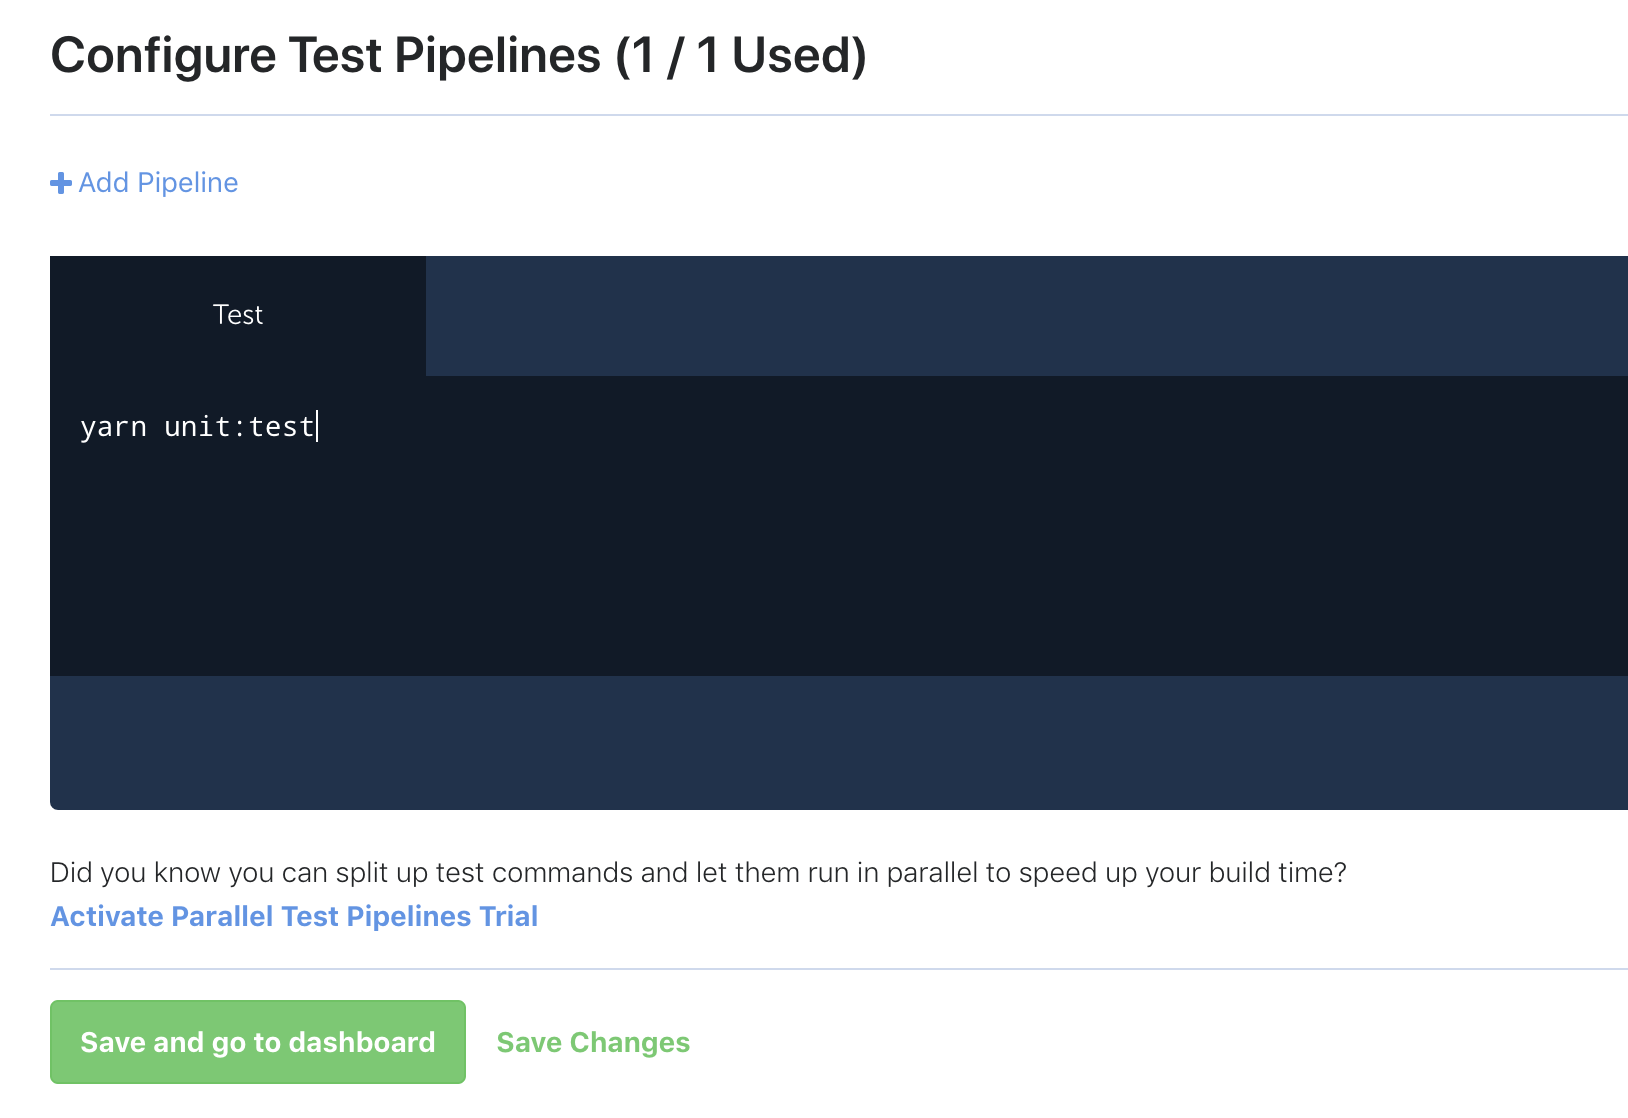
Head over to the deploy section
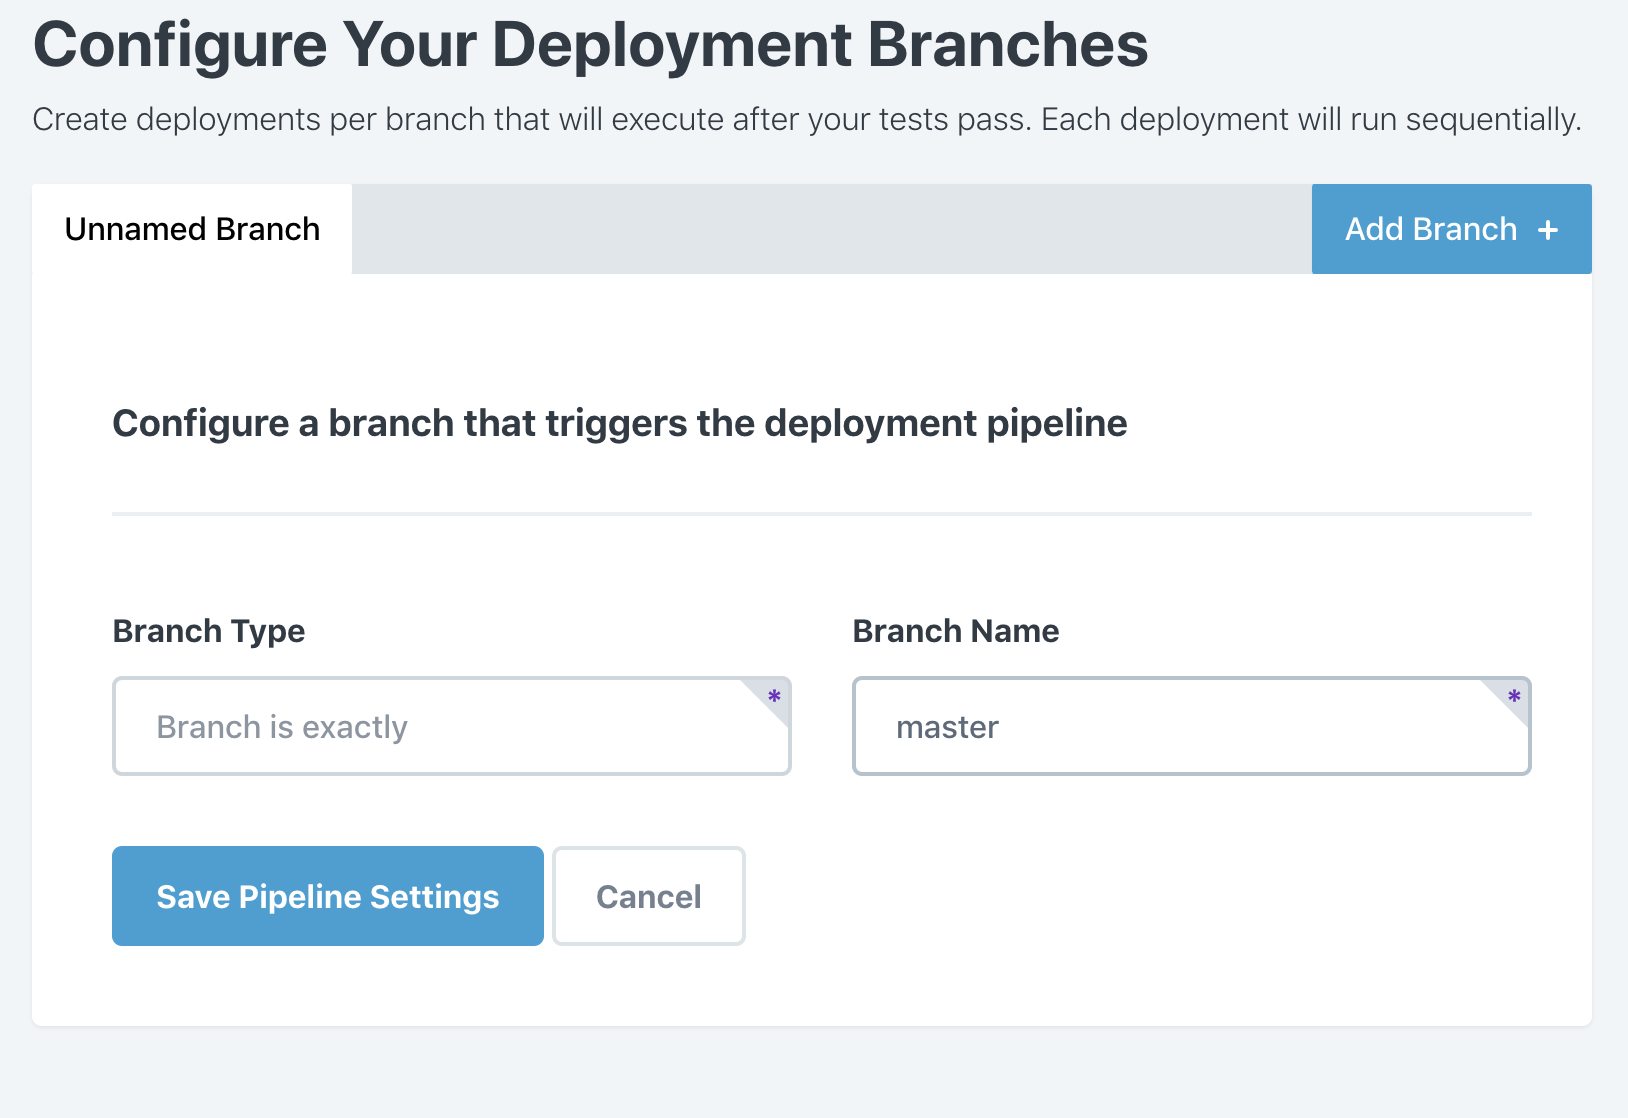
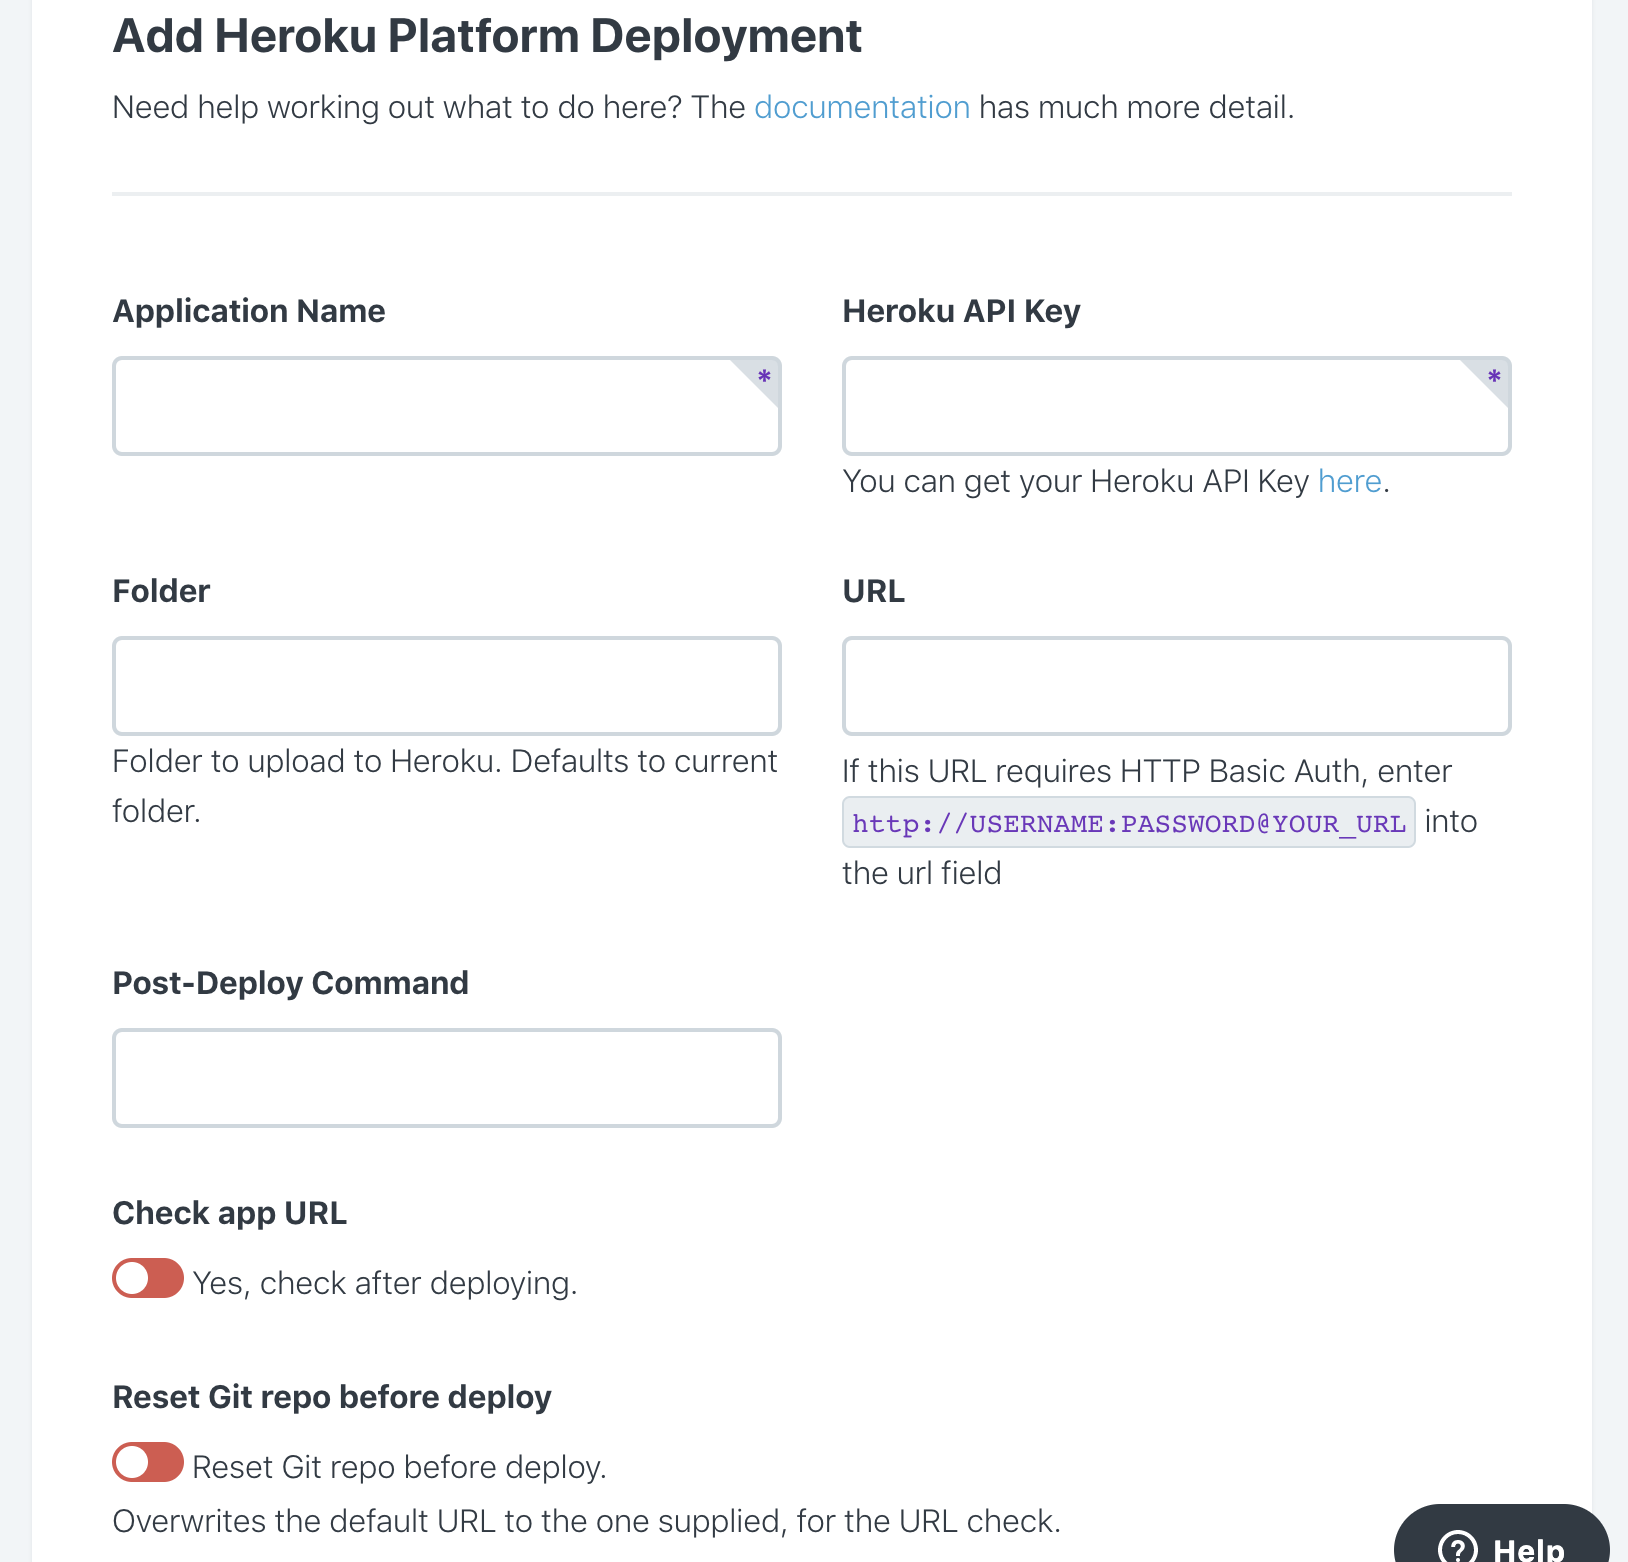
Choose to deploy to Heroku
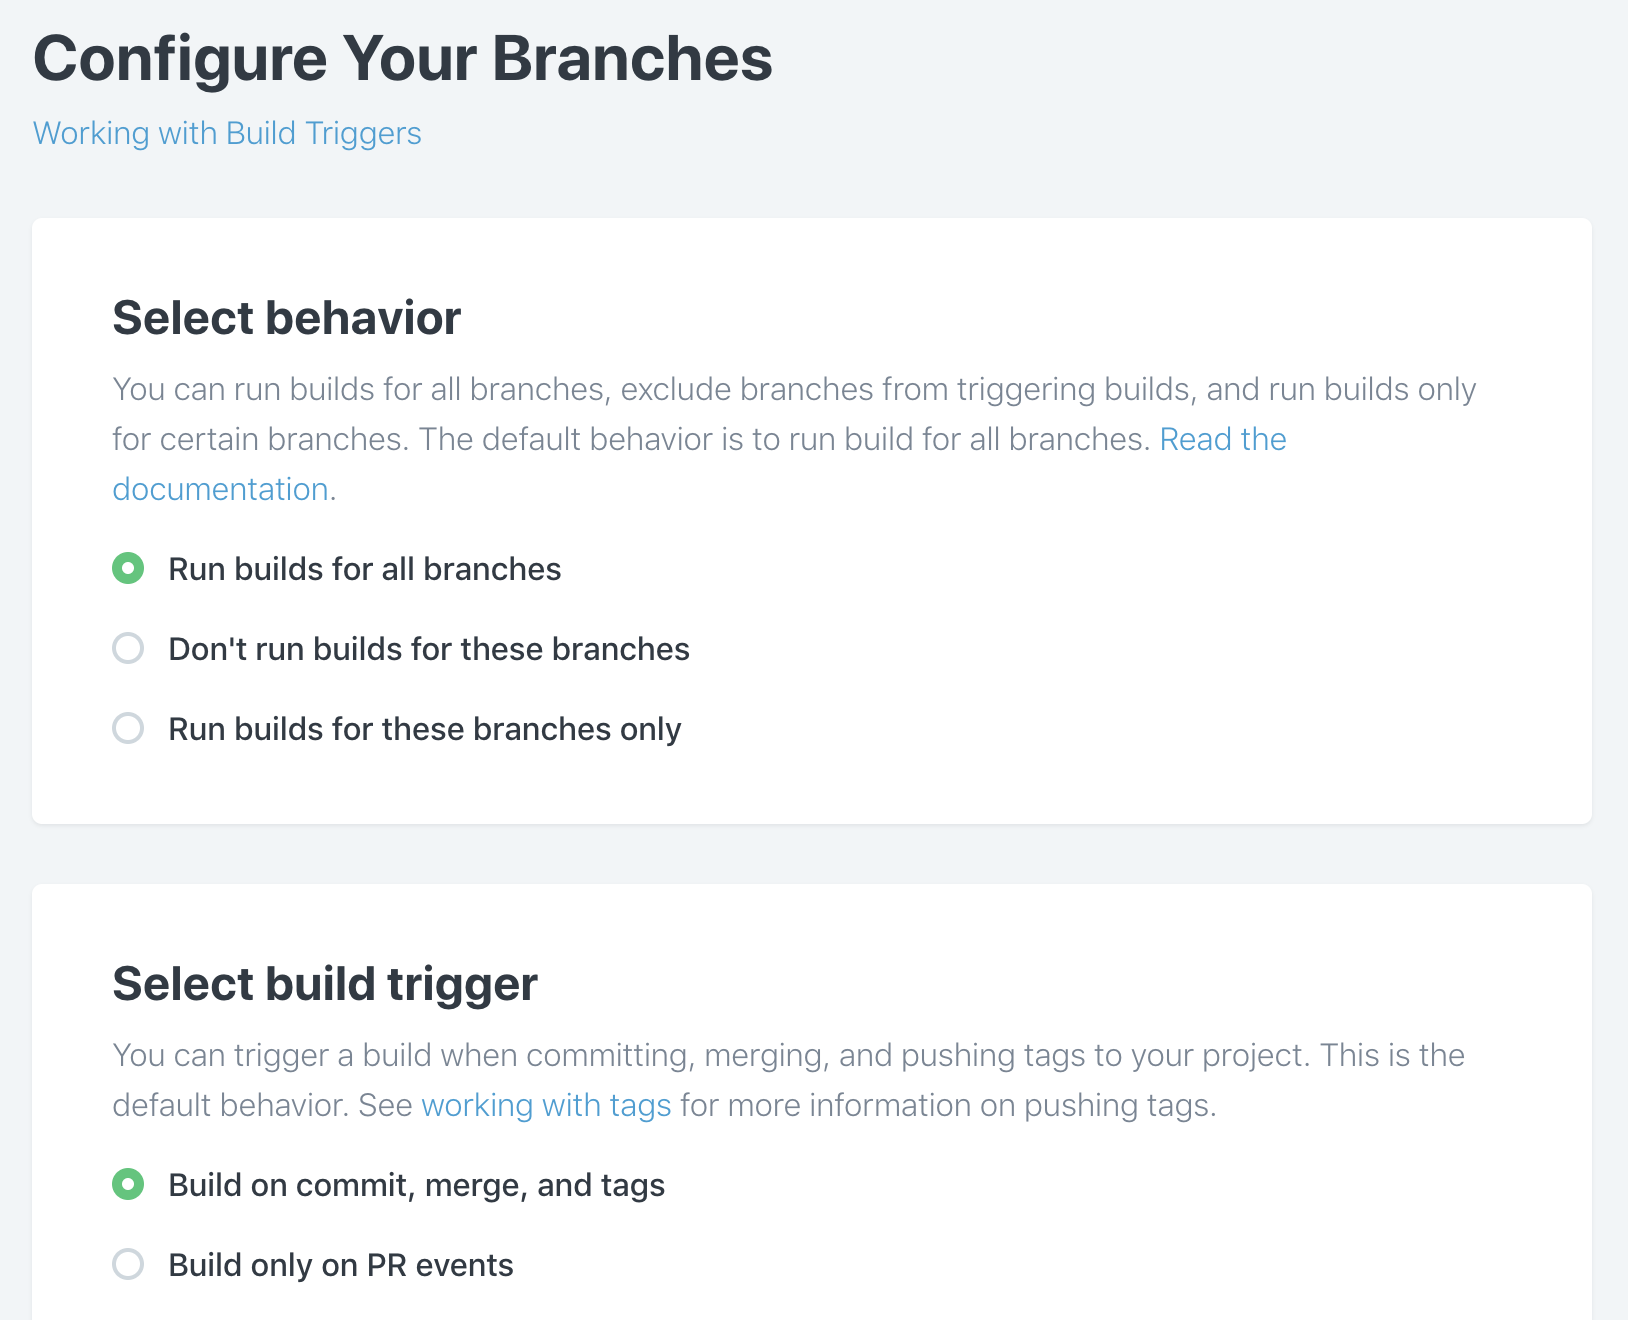
Leave the build triggers as default
Commit a change to your repo

Switching over to CodeShip Pro
Change project type
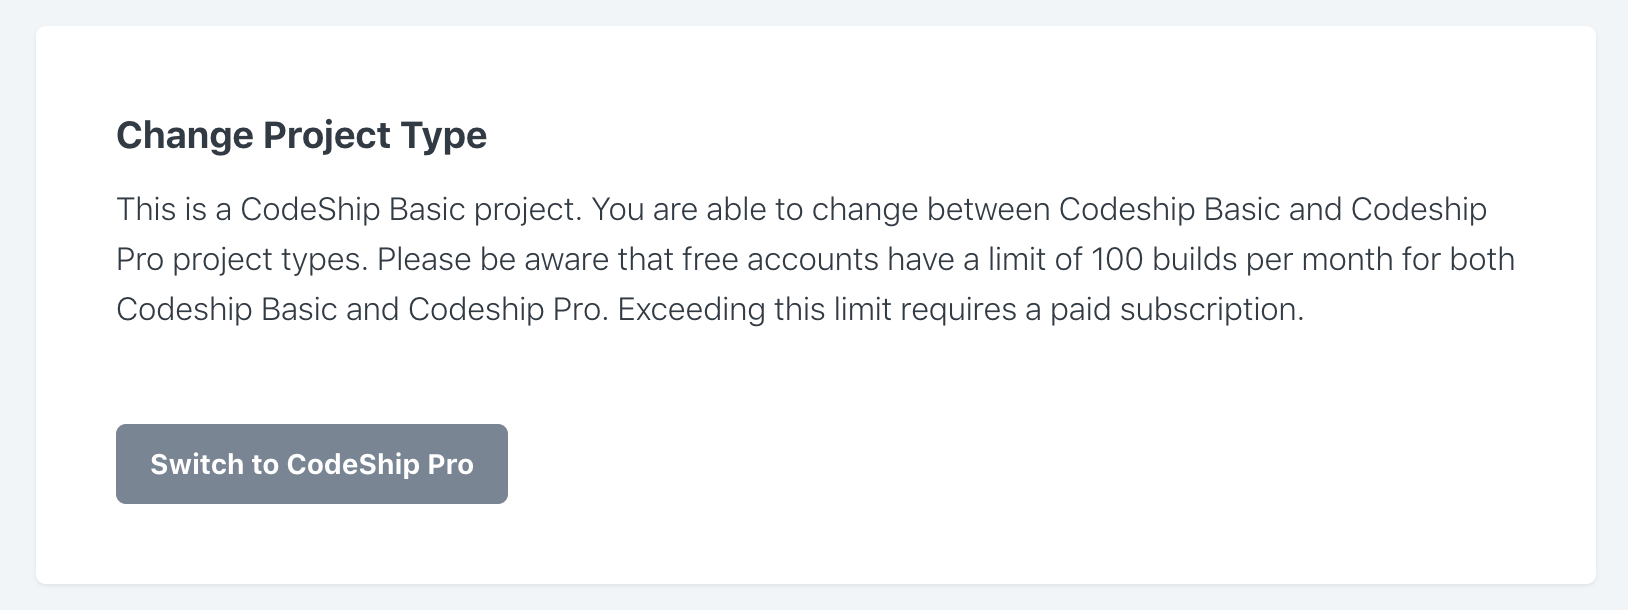
Configuration is now in code
-
codeship-services.yml- defines containers to be used -
codeship-steps.yml- defines the steps that occur
codeship-services.yml
vuejs-app:
  build: .
codeship-heroku-deployment:
  image: codeship/heroku-deployment
  encrypted_env_file: deployment.env.encrypted
  volumes:
    - ./:/deploy
codeship-steps.yml
- type: parallel
  steps:
  - name: lint
    service: vuejs-app
    command: yarn lint
  - name: unit tests
    service: vuejs-app
    command: yarn test:unit

- name: deploy to staging
  tag: staging
  service: codeship-heroku-deployment
  command: codeship_heroku deploy /deploy pens-as-a-service-staging

- type: manual
  tag: master
  steps:
    - name: deploy to production
      service: codeship-heroku-deployment
      command: codeship_heroku deploy /deploy pens-as-a-service
Go ahead and clone your repo locally
Let's play with the jet cli
Validating our pipeline
jet validate
If there is an error, you will get a response.
Let's introduce a break
Edit the codeship-steps.yml file:
- type: paralle
  steps:
Now run jet validate
➜ jet validate
unknown step type "paralle"
Go ahead and fix that error
Next up is the jet steps command
It allows you to run your pipeline locally (minus deployment)
It actually pulls the images locally so the run is identical to what gets run on CodeShip.
These commands help you validate your pipeline without having to commit it
Let's configure these files for your own environment
Now update codeship-steps.yml with your app names.
...
- name: deploy to staging
  tag: staging
  service: codeship-heroku-deployment
  command: codeship_heroku deploy /deploy [YOUR STAGING APP NAME]
- type: manual
  tag: master
  steps:
    - name: deploy to production
      service: codeship-heroku-deployment
      command: codeship_heroku deploy /deploy [YOUR PROD APP NAME]
Finally we need to encrypt our Heroku key so CodeShip can deploy to it.
Found in Project Settings > General
Download the key and save it as codeship.aes in your
project directory.
Copy the deployment.env.sample file to
deployment.env
Update this env file with your Heroku api key
HEROKU_API_KEY=your_api_key_here
Now we can use jet cli to encrypt this file.
jet encrypt deployment.env deployment.env.encrypted
Go ahead and commit this, and push to master
You should see a job get kicked off as soon as the push is complete
Story update
It turns out that the target audience hated the design

Our designers have made a total redesign - ready to go in a new branch
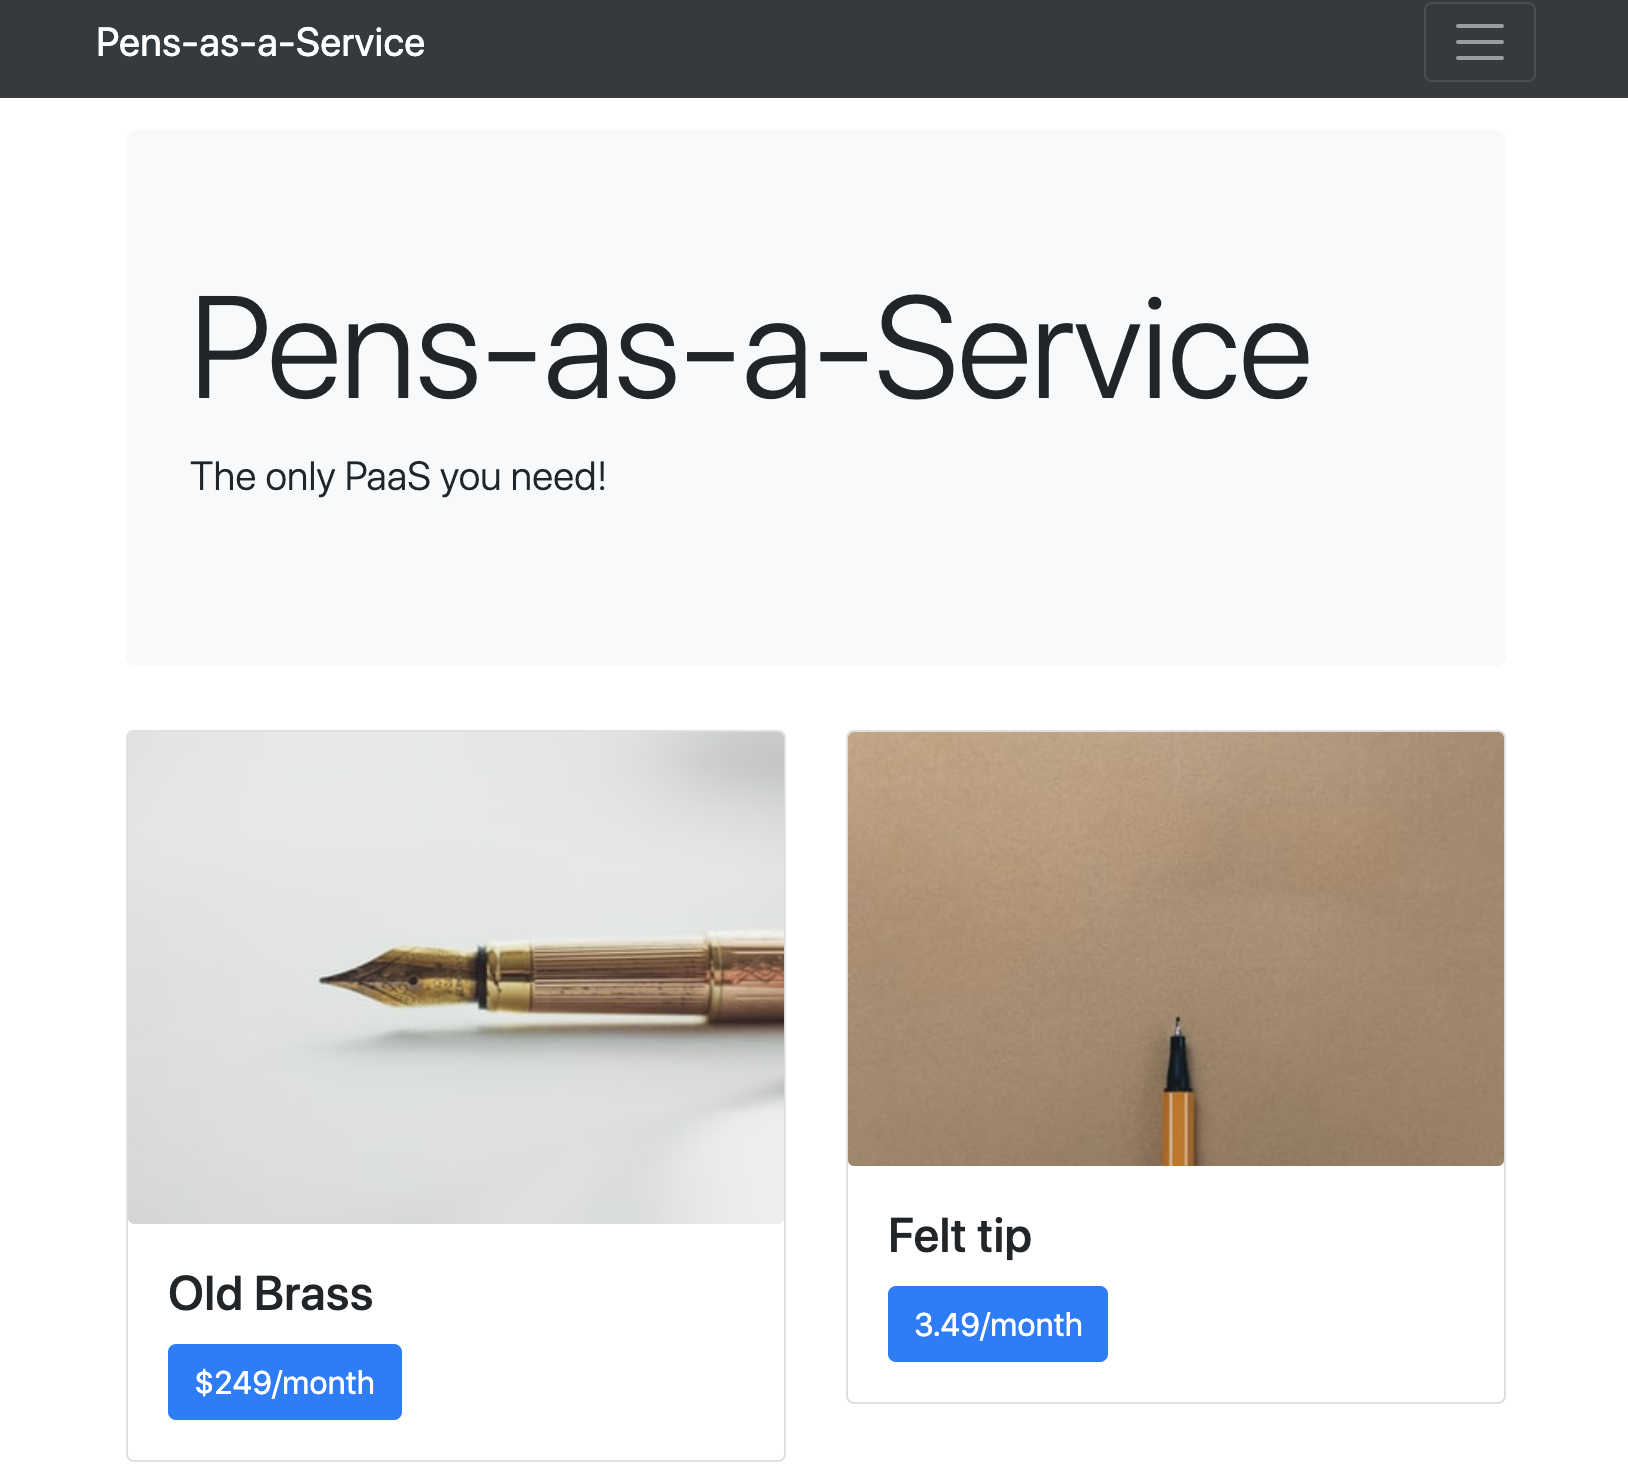
Now let's go ahead and create a pull request from the redesign branch to the staging branch.
If this looks good in staging, let's go ahead and PR it into master.
